
Sovereign Tower Walkthrough — First Cycle & Act I–III Route Map
Follow the first cycle and Act I–III route map: prepare for the Dragon Knight, investigate the murder, face the Kingslayer, and plan Arthur's peace route.
On this page · 16 sections
- Choose the next guide for your current run
- Step 1: Hear the full Audience request
- Step 2: Protect room for the next problem
- Step 3: Read the entire quest
- Step 4: Check the Knight behind the numbers
- Step 5: Debrief the result
- Step 6: Rewind with a question
- Step 7: Use Tower annexes as support
- If an older route stops working in New Game Plus
- First-cycle checklist
- Watch the opening systems
- Early choices worth planning before dispatch
- Act I: Prepare for the Dragon Knight
- Act II: Investigate before rewinding
- Act III: Plan Arthur's peace tournament
- Patch 1.1.1 route blockers to retest
- Published
- 2026-08-10
- Updated
- 2026-09-26
- Last verified
- 2026-08-10
Choose the next guide for your current run
The opening routine below stays focused on daily decisions. The following links include recruitment and story spoilers; use the row that matches your current problem rather than following every branch in one run.
| Where you are stuck | Next guide | What it covers |
|---|---|---|
| First day at the Round Table | Opening cycle below | Audience choices, resources, dispatch and debrief |
| Act I: preparing for the Dragon Knight | Act I route | Challenge choices, equipment and when a longer rewind may help |
| Act II: murder or Kingslayer trouble | Act II route | Investigation order and the checkpoint before Act III |
| Act III: Arthur proposes a tournament | Act III route | Negotiation, available Knights and the final assignment |
| Act I: the goose returns with a different clue | Chester recruitment | Two quests, clue matching and the final conversation |
| Act I: choosing a Groveshire recruit | Groveshire recruitment branches | Community-reported Wolf, Rufus and Silgur paths |
| Act II: the magic lamp and Ligia | Ligia recruitment | A reported market route and the limits of the island alternative |
| Almor tournament: deciding who to send | Named quest examples | Goberto's reported branch and its earlier dragon choice |
| Later acts: finding a particular recruit | Recruitment by act | Available route reports and links to individual guides |
| Replaying after a failed choice | Demon Power and rewinds | What is confirmed about replaying and retained knowledge |
| Planning the final outcome | Ending evidence | Confirmed additions and remaining route gaps; not a complete ending walkthrough |
Opening cycle
Step 1: Hear the full Audience request
Start each day by identifying the request, the affected population groups, and any Treasury cost. Official material names Merchants, Mystics, Scholars, Nobles, and the People as groups whose interests can pull in different directions.
Don't judge a petition only by the speaker's tone. Ask three questions:
- Which group benefits immediately?
- Which group or resource may take the loss?
- Does this choice remove flexibility you may need later?
Step 2: Protect room for the next problem
Keep enough Treasury to respond after the current Audience. Knights, repairs, equipment, and Tower annexes can create other needs. Runs branch, so use a buffer rather than copying one fixed number from another player's route.
Step 3: Read the entire quest
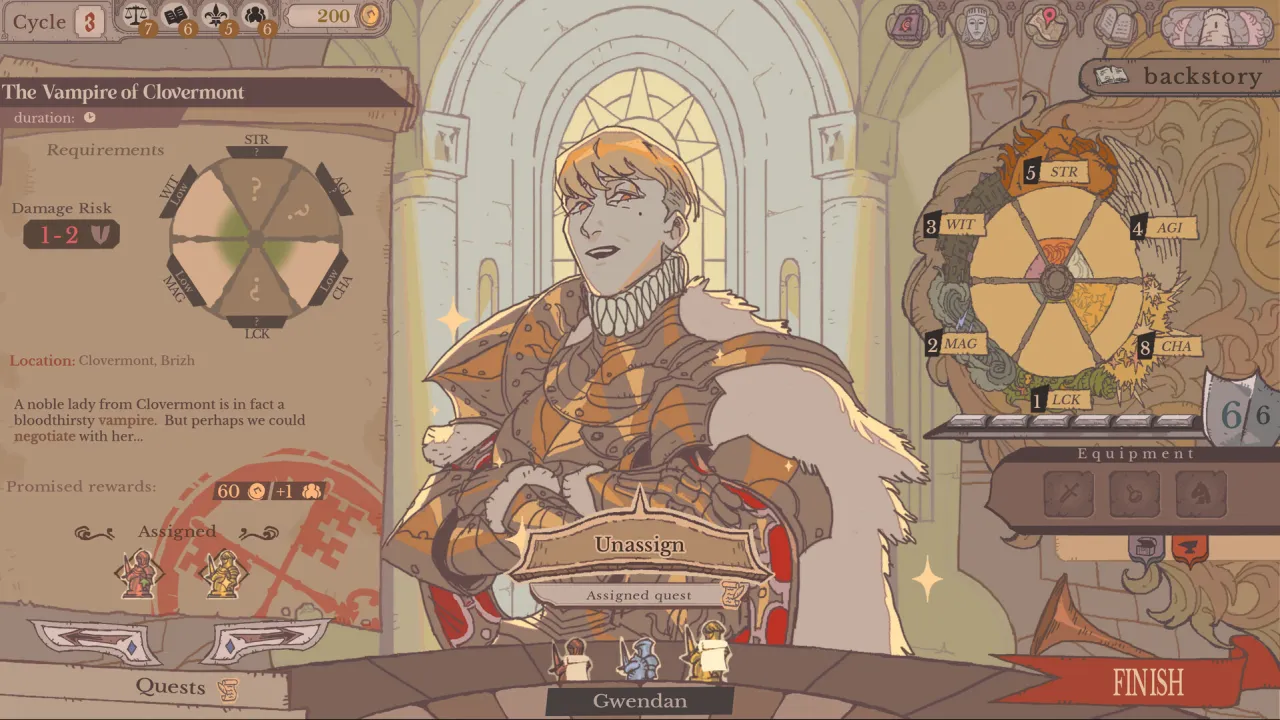
Quest wording contains clues. Before selecting a Knight, identify whether the task appears to need force, movement, persuasion, magic, or planning, then compare the visible requirements with Strength, Agility, Charisma, Magic, and Wit.
Step 4: Check the Knight behind the numbers
Review known positive or negative attributes, equipment, availability, and satisfaction. Preferences matter to the relationship but aren't the same thing as quest-performance traits. If information is still missing, consider whether the kingdom can absorb a failed experiment.
Use the quest guide for assignment logic and the Knights guide for the difference between stats, attributes, and preferences.
Step 5: Debrief the result
The official game page names Critical Failure, Critical Success, and Unexpected Outcome. After the result, note what changed and what new information appeared. An early failure can be useful if it exposes a hidden attribute or weak pairing that you can avoid later.
Don't assume an Unexpected Outcome is a random critical. A developer response indicates that specific Knight–quest pairings can matter.
Step 6: Rewind with a question
Use the Demon after you know which earlier decision you want to test. Official sources confirm that learned knowledge can survive a rewind and open different responses or paths.
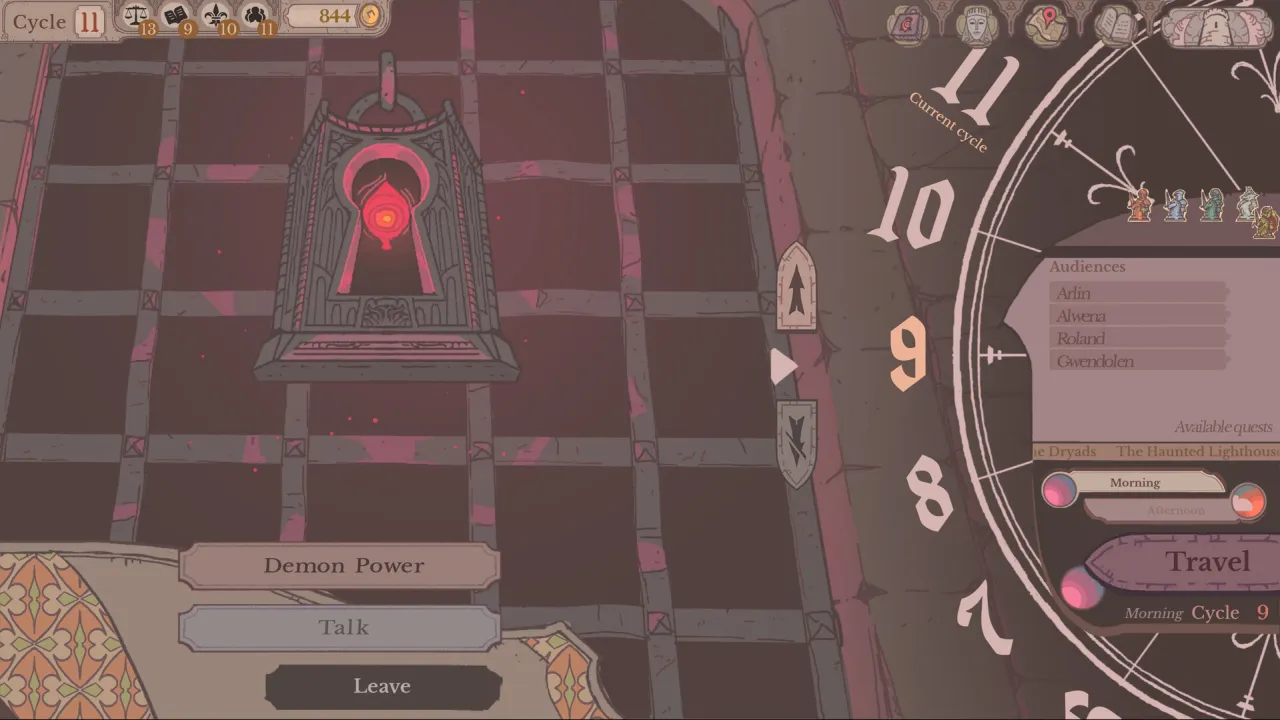
Don't assume Treasury, items, rooms, relationships, or every other state always survives. The Demon Power guide separates confirmed behavior from route-specific observations.
Step 7: Use Tower annexes as support
Official material confirms that annexes add positions and that the Forge and Alchemy Room can make items for Knight quests. Build and use them to expand your options, but avoid copying an exact build order unless it matches the version and situation on your screen.
Once the Forge is unlocked, the Round Table repair button added in patch 1.0.9 gives you a direct place to check repairs before dispatch.
If an older route stops working in New Game Plus
Patch 1.0.10 fixes repeated locked decisions in NG+ and restores Oliver's recruitment when the opening mercy choice was made. It also fixes some dismissed or postponed Knights failing to return. Check your version before restarting an entire save over one of those older problems; the notes do not promise every recruitment route is repaired.
First-cycle checklist
| Moment | Your decision |
|---|---|
| Audience | Identify group gains, group losses, and Treasury cost |
| Resource check | Preserve enough flexibility for later needs |
| Quest | Read the prompt and visible requirements |
| Knight | Compare five stats, known attributes, equipment, and satisfaction |
| Result | Record newly revealed information |
| Rewind | Return with one specific alternative to test |
Next, use the 20 practical Sovereign Tower tips as a quick reminder or open the Sovereign Tower wiki for a compact reference to the game's systems.
Watch the opening systems
These are different play styles, not routes you need to copy. Use the first video for rooms and quest flow; use the second for approval groups and Sovereign archetypes.
 Community video · WaddlesThis Might Be One of the Best Games You've Never Heard Of! — Part 1Watch for: Room unlocks, quest choices, the Forge and an early recruitment moment.A narrated first session that shows the opening loop in context.Watch on the creator's YouTube ↗
 Community video · TabelA Tyrant Takes the Throne — Part 1Watch for: Population satisfaction, Sovereign archetypes and early Knight decisions.A different role-play route that makes the management screens easier to read.Watch on the creator's YouTube ↗
Early choices worth planning before dispatch
Community-reported recruitment spoilers. Players report that sending Angelica on the Groveshire beast quest can lead to the Wolf. Choose your intended recruit before making that assignment; the linked recruitment guide separates the branches.
A release-era community reference reports a six-seat Round Table in Act I. Leave recruitment decisions deliberate rather than assuming every new arrival fits at once; this capacity has not been retested here on 1.1.1.
Community-reportedRelease-era reports; not retested on 1.1.1Checked 2026-09-16: the Steam recruitment discussion and All-in-one character reference. This is a source check for the new notes, not a new playthrough or revalidation of the whole guide.
The community story reference places the transition to Act II after the Dragon Knight event, and Act III after the Kingslayer event; the Emperor appears in Act III.
Act I: Prepare for the Dragon Knight
- Choose a useful support route. When challenged, compare the offered population-support choices with your current standing. Pick the branch you can support rather than copying another ruler's answer.
- Prepare the party as well as the kingdom. Work toward the displayed preparation bonuses, then repair armor and use equipment or available level-ups to address the quest's required stats.
- Attempt the confrontation. Launch-era players report winning without every preparation target turning green. Missing one bonus does not establish a scripted defeat.
- Rewind far enough to change the problem. One player repeatedly failed after short rewinds, then succeeded after going farther back to improve recruitment and stat allocation. If swapping gear cannot fix your party, revisit earlier preparation.
These reports predate the Dragon Knight difficulty adjustment. Use your current quest screen for requirements, not an old numerical build.
Act II: Investigate before rewinding
- Learn who acted in this timeline. Continue the murder investigation before rewinding away its evidence. Record the culprit and the explanation you actually uncover.
- Return to the earlier noise complaint. Players report new confrontation or arrest choices after learning the culprit. Follow the related conversation about manipulation if available. Warning only the victim to lock their door can redirect the death to someone else.
- Check the result. Advance beyond the previous murder point and inspect the roster. Reports disagree on dialogue requirements, so a missing option is not proof that you chose the wrong fixed culprit.
- Review Ursula after the Kingslayer. A player's solo-route report describes her becoming undead. Patch 1.0.9 moves her follow-up before the Demon Lock's Act III transition warning, allowing a rewind decision before proceeding. Read that scene before accepting the new act.
Does high armour protect Ursula from the Kingslayer?
Do not rely on that workaround. The official September 7 patch notes say 1.1.0 corrected Ursula failing to die properly when she had more than 10 armour before the Kingslayer encounter. An older high-armour survival result is therefore not a reliable route for the current game. This does not mean that more than 10 armour causes her death or establishes every survival condition.
Keep the encounter result and the later transition decision separate: inspect Ursula's state, read her follow-up, then decide whether to rewind before accepting Act III. The version correction explains why an old recording may differ; it is not a replacement for the choices on your screen.
Official patch notes1.1.0Kingslayer correction rechecked September 19, 2026. Only this patch detail was reverified; no new in-game test was performed.
Act III: Plan Arthur's peace tournament
- Try negotiation when first meeting Arthur. Community reports describe negotiating first, then pursuing peace when he returns. Follow the options shown in your run; the reports do not establish one universal dialogue threshold.
- If offered, accept the peace tournament. This is Arthur's endgame contest, not the Almor tournament. It is one reported route, not the only way to finish.
- Bring your party home before the meeting. A player's completed route required rewinding because the Knights were away on long assignments. On the replay, shorter jobs kept them available for the confrontation.
- Equip and dispatch for the displayed requirements. The same report's Chester-and-potion success is not a guaranteed winning setup. Complete the assignment and read the resulting peace outcome.
For other final choices and their evidence limits, continue to the endings guide.
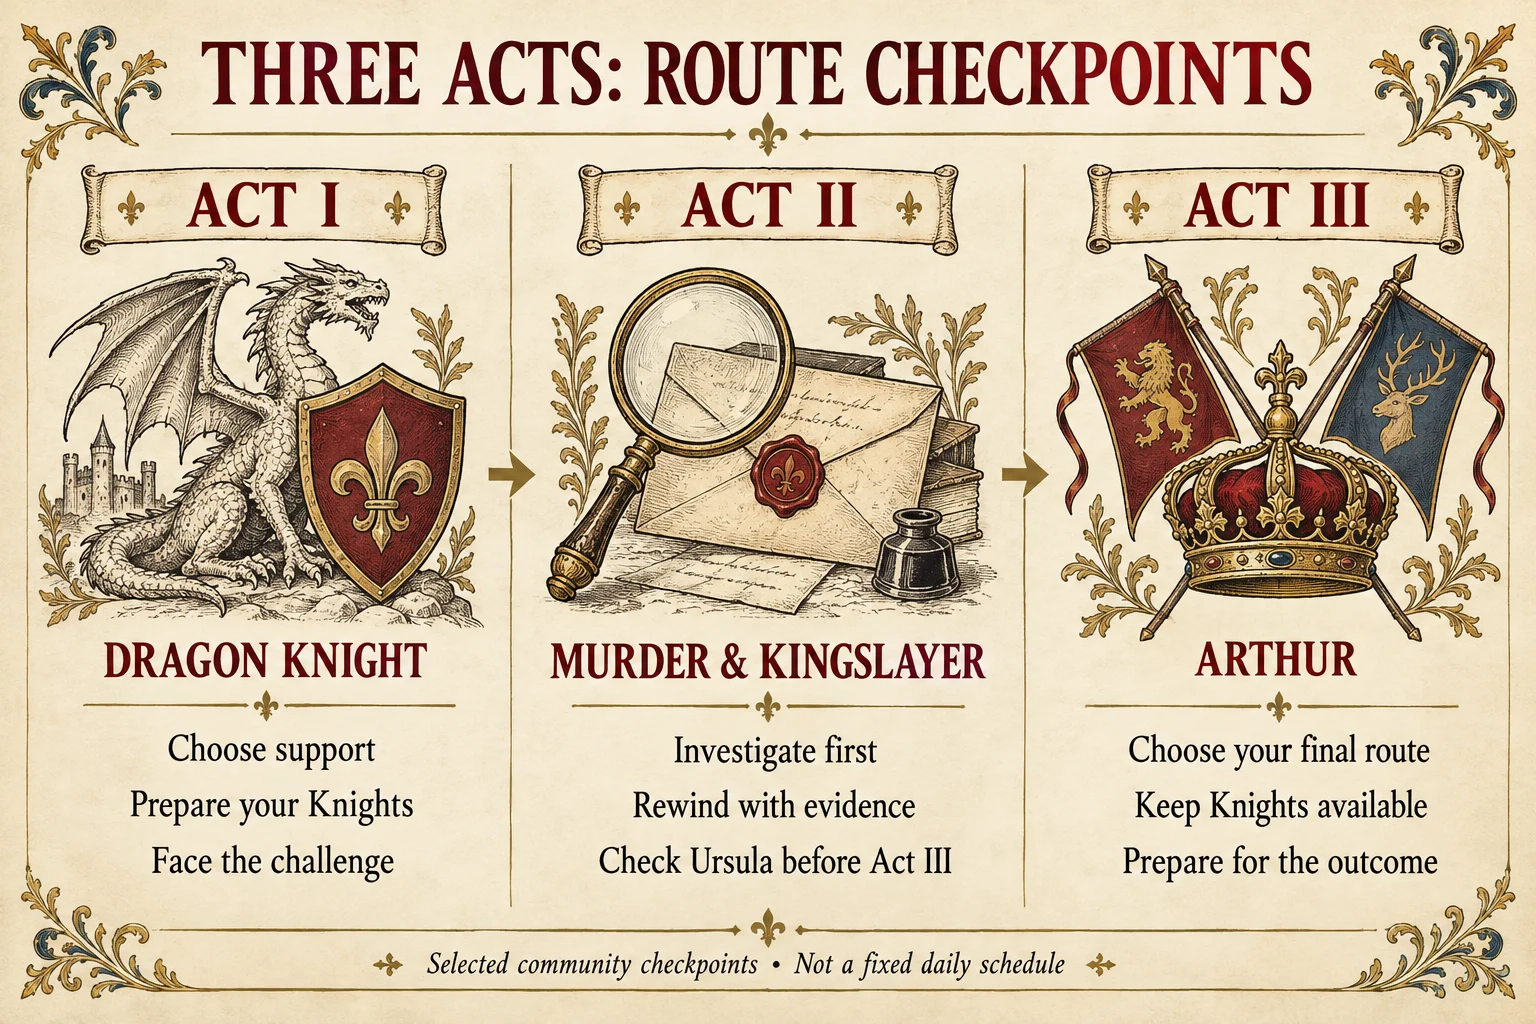
Community routes and official patch notesRelease-era reports; not replayed on 1.1.1Route sources checked 2026-09-16. These are selected progression checkpoints, not a fixed cycle-by-cycle schedule or a complete map of every ending.
Patch 1.1.1 route blockers to retest
Update before restarting a run that appears to have lost a regional or ending branch. Version 1.1.1 fixes a Moonvale alliance blocking quests from Pinemaze and Avalon, with Hecate and Gloria also failing to appear at audiences. It also fixes a baby-dragon fight appearing after you already obtained the Moonvale dragon egg.
Later routes received two more corrections: the Lost Child conclusion can now handle Gideon having been dismissed, and Angelica should no longer disappear from the Golden Key quest after Victoria abducted her. These are official bug fixes, not newly published route requirements.
Read every 1.1.1 fix or check the official patch notes.
Official patch notes1.1.1Progression fixes published September 17 and checked September 18, 2026; not independently replayed.