
Sovereign Tower Annexes — Rooms, Forge & Alchemy
See what Sovereign Tower annexes do, how the Gallery opens new support options, and when Forge or Alchemy can solve your immediate Knight problem.
- Published
- 2026-08-10
- Updated
- 2026-09-18
- Last verified
- 2026-08-26
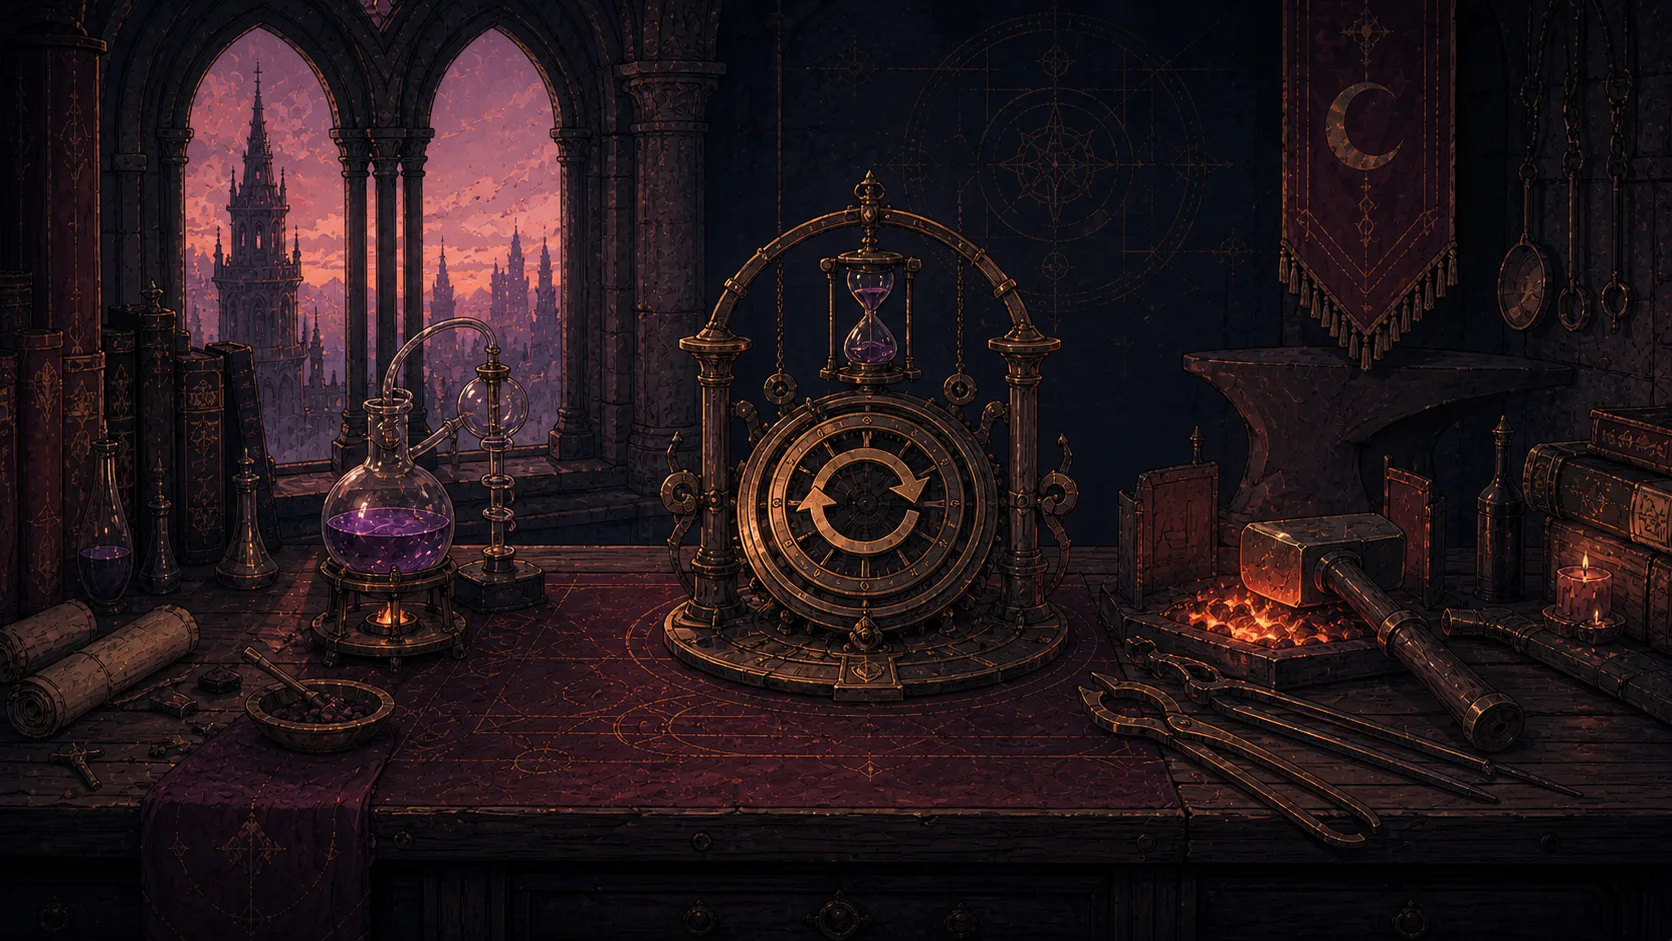
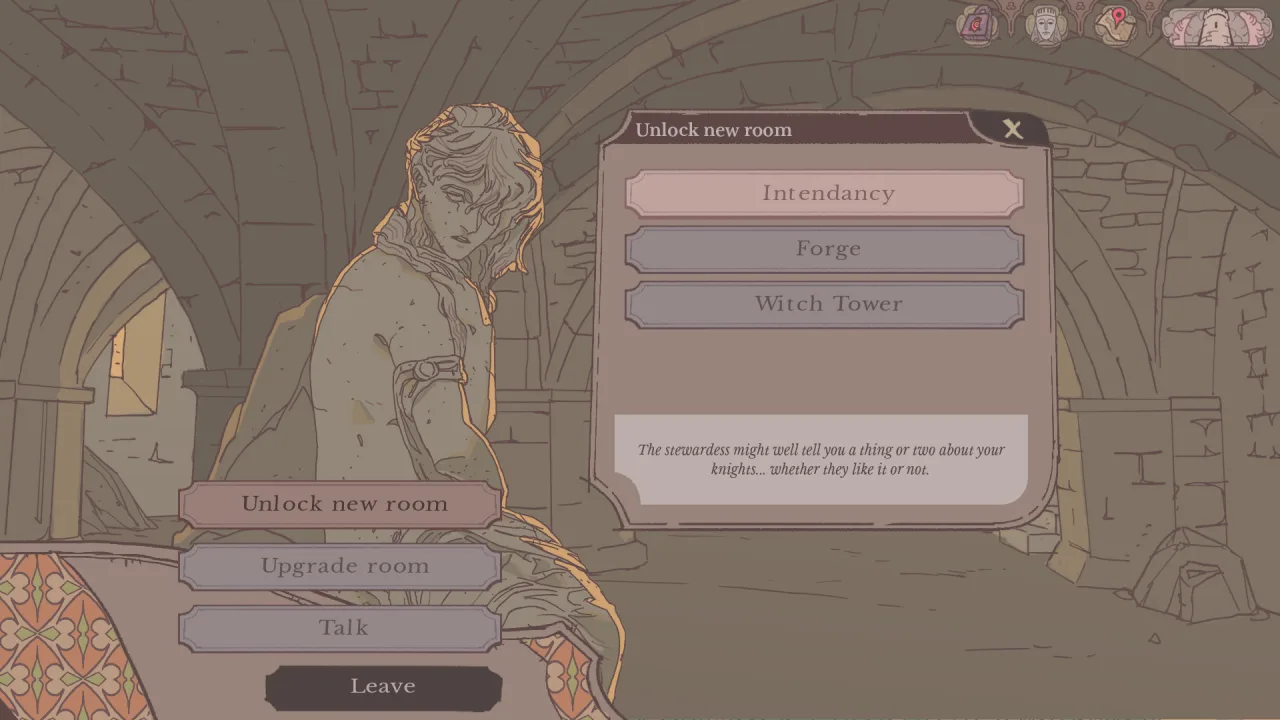
What the Tower rooms are for
| Room or support role | Confirmed use | What is not fixed here |
|---|---|---|
| Gallery / Lady of the Tower | Opens access to new annexes and abilities; the Lady is also part of the game's romance premise | Complete unlock tree, price list, and one best order |
| Intendancy / Alwena | Investigates and reveals information about Knights | Exact schedule, cost, and every reveal condition |
| Forge / Carina | Crafts weapons and shields, repairs damaged armour, and can improve a Knight's chance on the next quest | Recipes, material costs, item values, and a universal best item |
| Alchemy / Belladona | Creates potions that temporarily improve Knight stats | Potion names, duration, exact values, and prices |
| Stables / Rowan | Supports the Tower through the stablemaster role introduced by the developer | Exact mechanical bonuses and unlock requirements |
| Broker / Rupin | Adds the Broker role introduced in the official Tower profiles | Complete trade table and price rules |
| Instructor / Sagadin | Adds the training role introduced in the official Tower profiles | Training values, limits, and optimal schedule |
The last three rows are role references, not invented mechanical guides. Use the current room screen for costs and effects that the developer has not published.
Forge: use equipment to repair a specific weakness
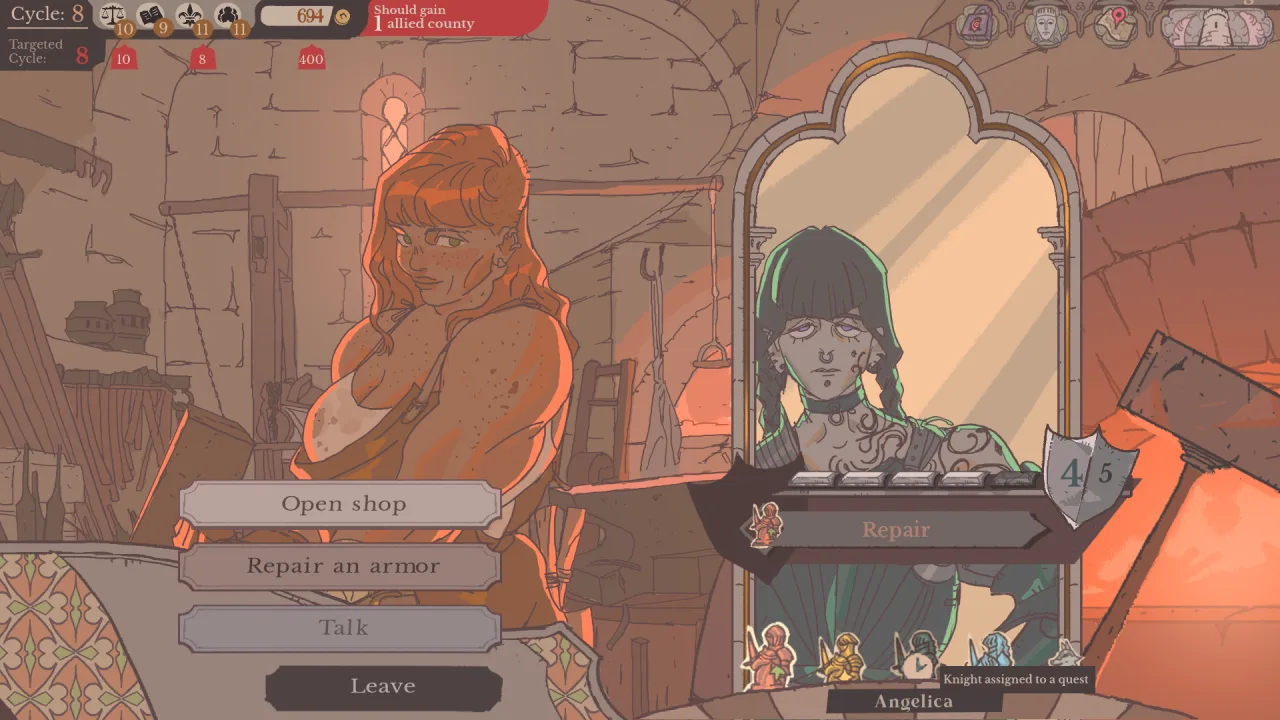
The Forge is most useful when you can name the problem it solves:
- Open the next quest and note its visible requirements.
- Shortlist the Knight who fits the task best.
- Check whether that Knight has damaged armour or lacks useful support.
- Craft or repair only when the item helps this assignment; don't spend merely because the room is available.
- Review the result screen and record what the equipment appeared to change.
Official material says Forge equipment can improve the chance of quest success. It doesn't publish a percentage, so an item is support rather than a guarantee.
Version 1.0.8 reduces both the initial cost of Forge repairs and the cost of later repairs. It also closes a Round Table exploit that allowed Blacksmith purchases without enough gold. Version 1.0.9 adds a repair button in the Round Table that appears after the Forge is unlocked. Check the price and Treasury balance shown in your current run rather than relying on a launch-week screenshot or an older fixed-cost recommendation. The 1.0.8 update also strengthens multiple items found in Acts 2 and 3, but the notes don't name every affected item, so compare each live description before spending.
Version 1.0.10 fixes Knights becoming injured outside quests and stops Goberto's and Childeric's armour from returning to a damaged state after several cycles. On version 1.0.10 or later, treat either symptom as a resolved bug rather than normal Forge upkeep. If it still happens, record the save state and game version before reporting it.
Version 1.1.1 fixes two inventory display problems: sold equipment could remain visibly equipped, and equipped items could be missing from Storage while viewing the Forge. Update before treating either display as proof that an item was duplicated or lost.
Read the official 1.0.8 patch notes, official 1.0.9 patch notes, official 1.0.10 patch notes, or the 1.1.1 update guide.
Alchemy: temporary help for a difficult dispatch
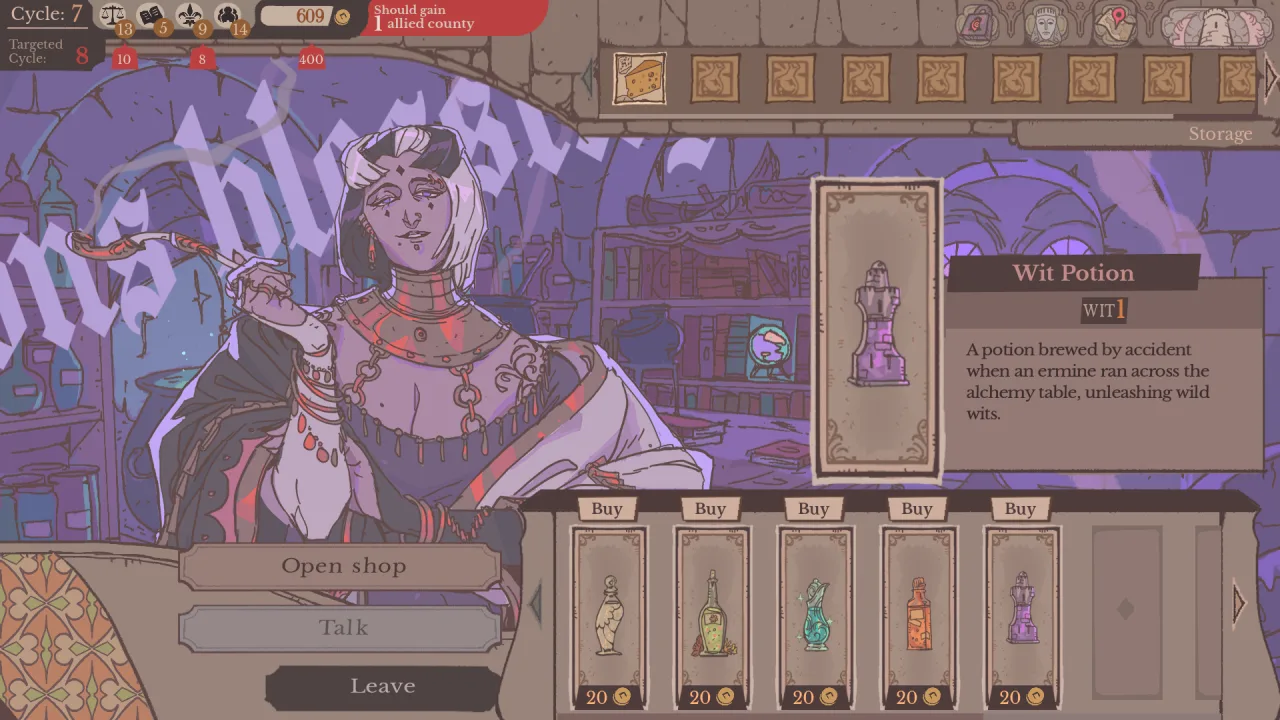
Because the boost is temporary, use it for a known pressure point: a difficult quest, a weak stat match, or a moment when your better-suited Knight is unavailable. Check the potion description before spending, then compare it against the quest rather than assuming every stat is equally useful.
Which annex should you unlock first?
There's no verified universal order. Use this decision table:
| Your immediate problem | Better first look | Why |
|---|---|---|
| Hidden Knight traits are causing surprises | Intendancy | More information can change both dispatch and relationship choices |
| Damaged armour or missing task support | Forge | Repairs and equipment address a visible assignment problem |
| One important stat is just short | Alchemy | A temporary boost can support the next quest |
| You are exploring new Tower branches | Gallery | It is the hub connected to additional annexes and abilities |
| You do not yet understand the next cost | Wait and inspect | Keeping resources is better than buying an upgrade with no current use |
This is a planning rule, not a fixed build order. Earlier petitions, population approval, Treasury pressure, and rewind state can change what matters most.
Watch the room screens before choosing
 Community video · WaddlesThis Might Be One of the Best Games You've Never Heard Of! — Part 1Watch for: The Gallery room-unlock screen and the options visible in an early run.Use the video to recognize the interface; costs and available rooms can depend on route state.Watch on the creator's YouTube ↗
 Community video · TabelA Tyrant Takes the Throne — Part 1Watch for: The Round Table, equipment, and Forge prompt in context.A second release-build route showing how room decisions appear during play.Watch on the creator's YouTube ↗
For the assignment itself, continue with the quest guide. For the people attached to these rooms, use the illustrated character roster.